7 simple steps to the web design process
Web designers often think about the web design process with a focus on technical matters such as wireframes, code, and content management. But great design isn’t about how you integrate the social media buttons or even slick visuals. Great design is actually about having a website creation process that aligns with an overarching strategy.
Well-designed websites offer much more than just aesthetics. They attract visitors and help people understand the product, company, and branding through a variety of indicators, encompassing visuals, text, and interactions. That means every element of your site needs to work towards a defined goal.
But how do you achieve that harmonious synthesis of elements? Through a holistic web design process that takes both form and function into account.
For me, steps to design a website requires 7 steps:
- Goal identification: Where I work with the client to determine what goals the new website needs to fulfill. I.e., what its purpose is.
- Scope definition: Once we know the site’s goals, we can define the scope of the project. I.e., what web pages and features the site requires to fulfill the goal, and the timeline for building those out.
- Sitemap and wireframe creation: With the scope well-defined, we can start digging into the sitemap, defining how the content and features we defined in scope definition will interrelate.
- Content creation: Now that we have a bigger picture of the site in mind, we can start creating content for the individual pages, always keeping search engine optimization (SEO) in mind to help keep pages focused on a single topic. It’s vital that you have real content to work with for our next stage:
- Visual elements: With the site architecture and some content in place, we can start working on the visual brand. Depending on the client, this may already be well-defined, but you might also be defining the visual style from the ground up. Tools like style tiles, moodboards, and element collages can help with this process.
- Testing: By now, you’ve got all your pages and defined how they display to the site visitor, so it’s time to make sure it all works. Combine manual browsing of the site on a variety of devices with automated site crawlers to identify everything from user experience issues to simple broken links.
- Launch: Once everything’s working beautifully, it’s time to plan and execute your site launch! This should include planning both launch timing and communication strategies — i.e., when will you launch and how will you let the world know? After that, it’s time to break out the bubbly.
Now that we’ve outlines the process, let’s dig a bit deeper into each step.
The web design process in 7 simple steps
In order to design, build, and launch your website, it’s important to follow these steps:
1. Goal identification
In this initial stage, the designer needs to identify the end goal of the website design, usually in close collaboration with the client or other stakeholders. Questions to explore and answer in this stage of the design and website development process include:
- Who is the site for?
- What do they expect to find or do there?
- Is this website’s primary aim to inform, to sell (ecommerce, anyone?), or to amuse?
- Does the website need to clearly convey a brand’s core message, or is it part of a wider branding strategy with its own unique focus?
- What competitor sites, if any, exist, and how should this site be inspired by/different than, those competitors?
This is the most important part of any web development process. If these questions aren’t all clearly answered in the brief, the whole project can set off in the wrong direction.
It may be useful to write out one or more clearly identified goals, or a one-paragraph summary of the expected aims. This will help to put the design on the right path. Make sure you understand the website’s target audience, and develop a working knowledge of the competition.
For more on this design phase, check out “The modern web design process: setting goals.”
Tools for website goal identification stage
- Audience personas
- Creative brief
- Competitor analyses
- Brand attributes
2. Scope definition
One of the most common and difficult problems plaguing web design projects is scope creep. The client sets out with one goal in mind, but this gradually expands, evolves, or changes altogether during the design process — and the next thing you know, you’re not only designing and building a website, but also a web app, emails, and push notifications.
This isn’t necessarily a problem for designers, as it can often lead to more work. But if the increased expectations aren’t matched by an increase in budget or timeline, the project can rapidly become utterly unrealistic.

A Gantt chart, which details a realistic timeline for the project, including any major landmarks, can help to set boundaries and achievable deadlines. This provides an invaluable reference for both designers and clients and helps keep everyone focused on the task and goals at hand.
Tools for scope definition
- A contract
- Gantt chart (or other timeline visualization)
3. Sitemap and wireframe creation

The sitemap provides the foundation for any well-designed website. It helps give web designers a clear idea of the website’s information architecture and explains the relationships between the various pages and content elements.
Building a site without a sitemap is like building a house without a blueprint. And that rarely turns out well.
The next step is to find some design inspiration and build a mockup of the wireframe. Wireframes provide a framework for storing the site’s visual design and content elements, and can help identify potential challenges and gaps with the sitemap.

Although a wireframe doesn’t contain any final design elements, it does act as a guide for how the site will ultimately look. It can also act as inspiration for the formatting of various elements. Some designers use slick tools like Balsamiq or Webflow to create their wireframes. I personally like to go back to basics and use the trusty ole paper and pencil.
Tools for sitemapping and wireframing
- Pen/pencil and paper
- Balsamiq
- Moqups
- Sketch
- Axure
- Webflow
- Slickplan
- Writemaps
- Mindnode
4. Content creation
Once your website’s framework is in place, you can start with the most important aspect of the site: the written content.
Content serves two essential purposes:
Purpose 1. Content drives engagement and action
First, content engages readers and drives them to take the actions necessary to fulfill a site’s goals. This is affected by both the content itself (the writing), and how it’s presented (the typography and structural elements).
Dull, lifeless, and overlong prose rarely keeps visitors’ attention for long. Short, snappy, and intriguing content grabs them and gets them to click through to other pages. Even if your pages need a lot of content — and often, they do — properly “chunking” that content by breaking it up into short paragraphs supplemented by visuals can help it keep a light, engaging feel.
Purpose 2: SEO
Content also boosts a site’s visibility for search engines. The practice of creation and improving content to rank well in search is known as search engine optimization, or SEO.
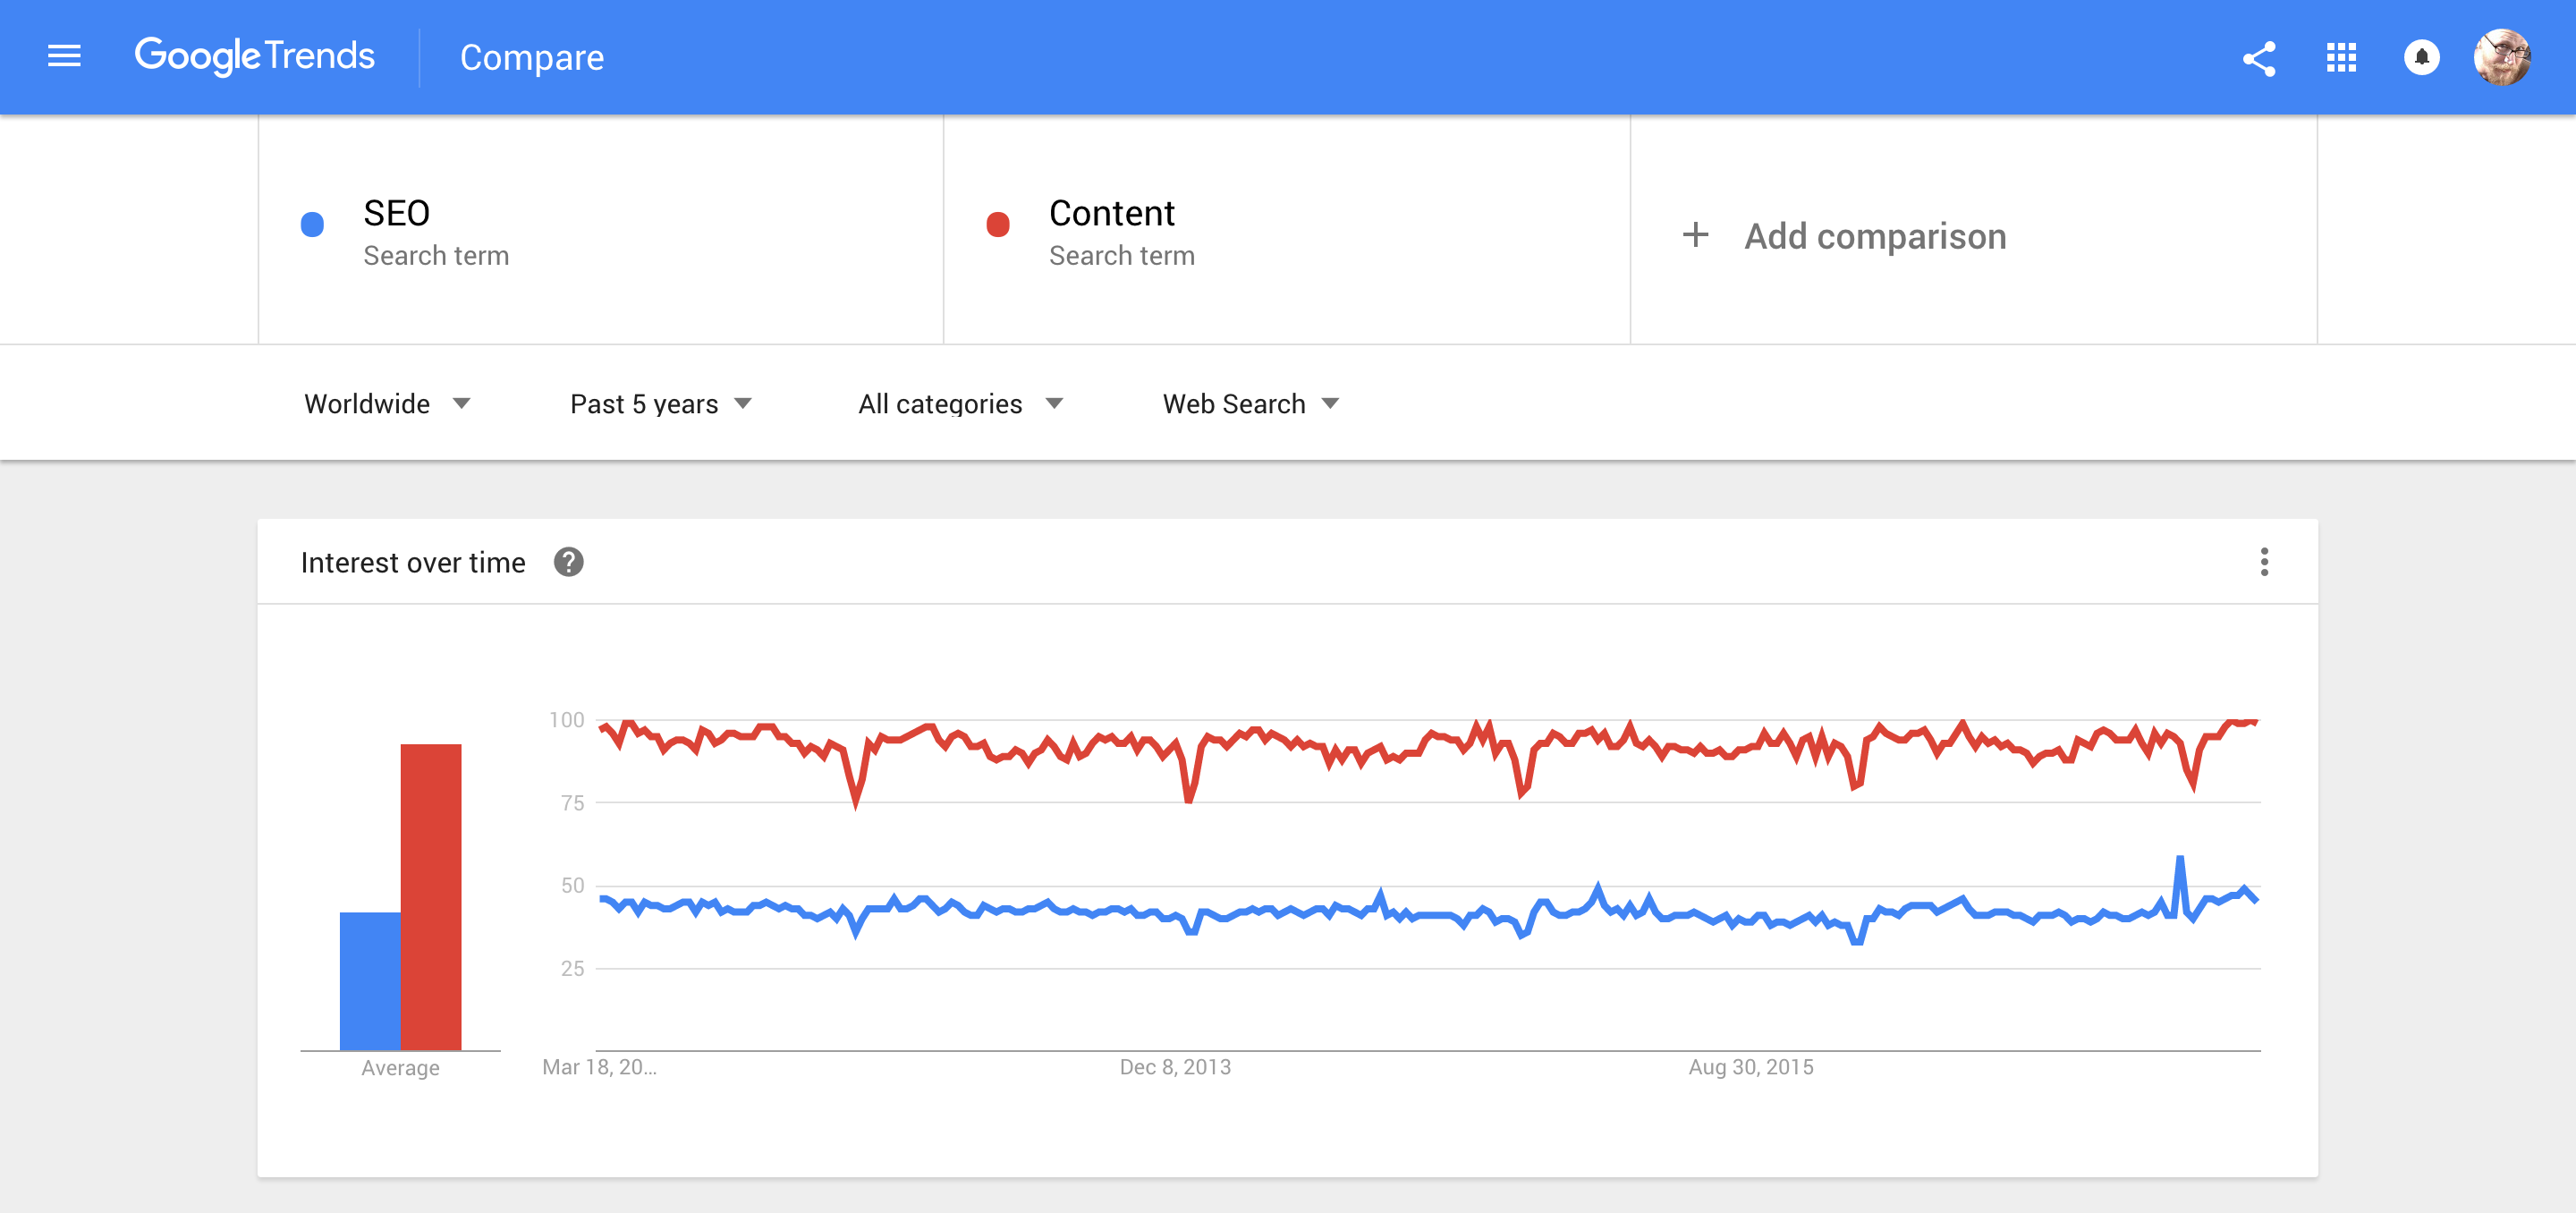
Getting your keywords and key-phrases right is essential for the success of any website. I always use Google Keyword Planner. This tool shows the search volume for potential target keywords and phrases, so you can hone in on what actual human beings are searching on the web. While search engines are becoming more and more clever, so should your content strategies. Google Trends is also handy for identifying terms people actually use when they search.
My design process focuses on designing websites around SEO. Keywords you want to rank for need to be placed in the title tag — the closer to the beginning, the better. Keywords should also appear in the H1 tag, meta description, and body content.
Content that’s well-written, informative, and keyword-rich is more easily picked up by search engines, all of which helps to make the site easier to find.
Typically, your client will produce the bulk of the content, but it’s vital that you supply them with guidance on what keywords and phrases they should include in the text.
Awesome content creation tools
- Google Docs
- Dropbox Paper
- Quip
- Gather Content
- Webflow CMS (content management system)
Handy SEO tools
- Google Keyword Planner
- Google Trends
- Screaming Frog’s SEO Spider
5. Visual elements

Finally, it’s time to create the visual style for the site. This part of the design process will often be shaped by existing branding elements, colour choices, and logos, as stipulated by the client. But it’s also the stage of the web design process where a good web designer can really shine.
Images are taking on a more significant role in web design now than ever before. Not only do high-quality images give a website a professional look and feel, but they also communicate a message, are mobile-friendly, and help build trust.
Visual content is known to increase clicks, engagement, and revenue. But more than that, people want to see images on a website. Not only do images make a page feel less cumbersome and easier to digest, but they also enhance the message in the text, and can even convey vital messages without people even needing to read.
I recommend using a professional photographer to get the images right. You can try free stock photos but keep in mind that massive, beautiful images can seriously slow down a site. I use Optimizilla to compress images without losing quality, saving on page-load times. You’ll also want to make sure your images are as responsive as your site.
The visual design is a way to communicate and appeal to the site’s users. Get it right, and it can determine the site’s success. Get it wrong, and you’re just another web address.
Tools for visual elements
- The usual suspects (Sketch, Illustrator, Photoshop, etc.)
- Moodboards, style tiles, element collages
- Visual style guides
6. Testing
Once the site has all its visuals and content, you’re ready for testing.
Thoroughly test each page to make sure all links are working and that the website loads properly on all devices and browsers. Errors may be the result of small coding mistakes, and while it is often a pain to find and fix them, it’s better to do it now than present a broken site to the public.
Editor’s note: I highly recommend Screaming Frog’s SEO Spider for this stage. It lets you do many of the standard auditing tasks all in one tool, and it’s free for up to 500 URLs.
Have one last look at the page meta titles and descriptions too. Even the order of the words in the meta title can affect the performance of the page on a search engine.
Webflow has an excellent article on the pre-launch process.
Website testing tools
7. Launch
Now it’s time for everyone’s favorite part of the website design process: When everything has been thoroughly tested, and you’re happy with the site, it’s time to launch.
Don’t expect this to go perfectly. There may be still some elements that need fixing. Web design is a fluid and ongoing process that requires constant maintenance.
Web design — and really, design in general — is all about finding the right balance between form and function. You need to use the right fonts, colors, and design motifs. But the way people navigate and experience your site is just as important.
Skilled designers should be well versed in this concept and able to create a site that walks the delicate tightrope between the two.
A key thing to remember about the launch stage is that it’s nowhere near the end of the job. The beauty of the web is that it’s never finished. Once the site goes live, you can continually run user testing on new content and features, monitor analytics, and refine your messaging.
Credits for this Articule: Matt Meazey